
 English
 русский
 Türk
Content
A hydraulic repair shop pulls a 100 mm press cylinder and finds the bore glazed where the piston seal has been riding, plus a sharp burr ring around the port edge. The bore still measures within tolerance. That combination is exactly where a cylinder hone brush wins on both time and cost: mount it in a drill or lathe, run it wet for 30 to 60 seconds with a steady stroke, and the glaze, the burr and the light scratches are gone, leaving a cross-hatch that helps a new seal seat.
The conclusion first. If bore geometry is sound and the damage is surface level, a cylinder hone brush is the fastest and cheapest correction available. If the bore is tapered, out of round, or scored deeper than a few hundredths of a millimetre, no brush will fix it, and using one only hides the problem under a clean finish.
What a Cylinder Hone Brush Actually Does
A cylinder hone brush is a flexible honing tool. A central stem carries abrasive filament, arranged in a ball shape or as a series of tufts, and the tips of that filament are loaded with abrasive grit. As the tool rotates and strokes through a bore, thousands of filament tips touch the wall at slightly different angles, producing a shallow cross-hatch, blended edges and a plateau finish rather than a newly machined diameter.
That is the main difference from a rigid stone hone. Stones cut geometry: they straighten, round up and size a bore, and they need careful setup to avoid taper. A brush follows the shape that already exists. Depending on grit and dwell time, it removes a few micrometres up to roughly 0.02 mm of material and changes the surface rather than the size. Shops that expect a brush to take out 0.05 mm of taper are always disappointed; shops that use it to deglaze, deburr and set a finish get fast, consistent work.
In practice these tools turn up in engine and small engine cylinders before new rings go in, in hydraulic and pneumatic barrels before seals are fitted, in valve bodies, bushings, pump housings and air cylinders, and around cross-drilled ports where deburring matters more than dimensional change.
How the Abrasive Filament Does the Cutting
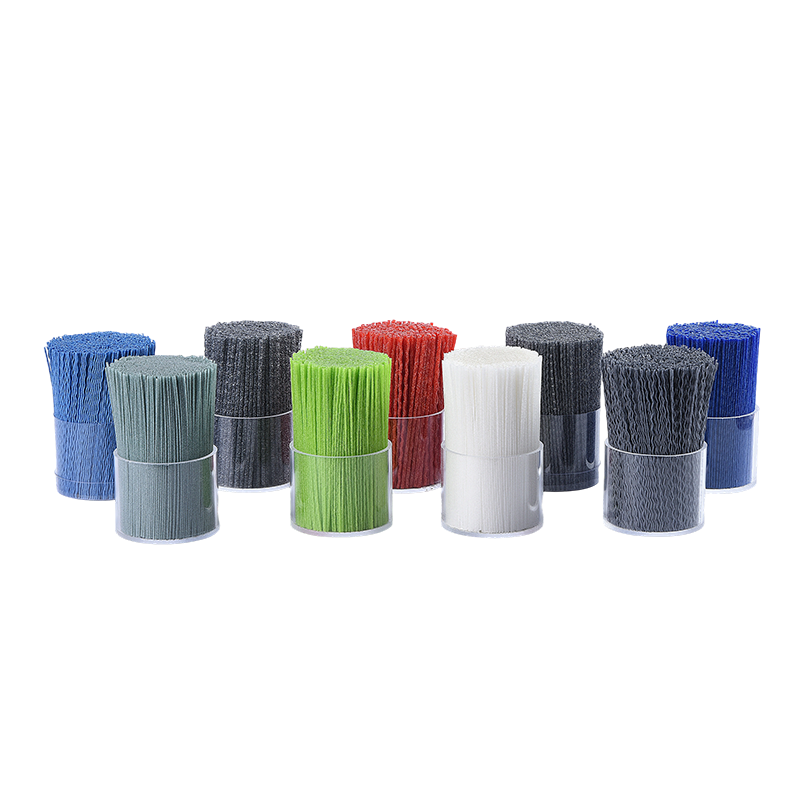
The filament is the working part of the tool, so what is inside it decides how the brush behaves. The base polymer is normally nylon PA6, PA66, PA610, PA612 or PBT, and the resin controls stiffness, moisture absorption, heat resistance and how firmly grit stays bonded.
- PA6 is tough and economical, with higher moisture absorption than the higher grades.
- PA66 is stiffer and handles heat better, which suits higher speed honing.
- PA610 and PA612 absorb less water and hold dimensions well in wet honing.
- PBT brings chemical resistance and good recovery in coolant-heavy work.
Grit type matters just as much. Aluminium oxide is the general purpose choice for steel and cast iron. Silicon carbide cuts sharper and suits cast iron and harder alloys. Ceramic grit lasts longer and removes stock faster, while diamond is reserved for hardened steel, carbide and ceramic bores. Grit is compounded into the polymer at loadings that trade flexibility against cut rate, and filament that sheds grit early leaves an inconsistent finish and can embed abrasive in soft alloys.
Two suppliers can both label a filament 240 grit and still deliver different results, because abrasive loading, stiffness and grit retention all shift the outcome. Buyers who ask about polymer grade, grit type and diameter tolerance before ordering get fewer surprises. These notes on common questions about abrasive filament are a useful reference for that conversation.
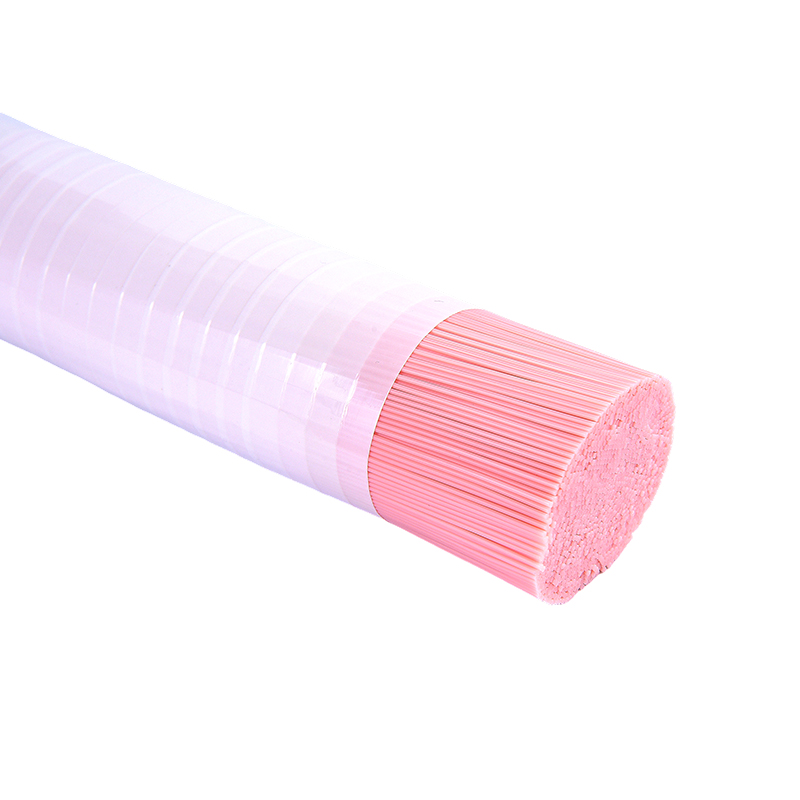 Abrasive Nylon Filament for Deburring and FinishingNylon filament with embedded abrasive particles in PA6, PA610, PA612, and PA1010, available in multiple grits and diameters for deburring, edge finishing, and surface texturing.View Product →
Matching Grit to the Job
Grit follows the finish target, not the amount of damage alone. Jumping straight to a coarse brush on a bore that only needed deglazing means the scratch pattern takes twice as long to remove. The table below is a practical starting point.
| Grit band | Cut and finish | Where it fits |
|---|---|---|
| 60 to 120 | Fast cut, coarse scratch pattern | Heavy glaze, port burrs and light rust marks before a finer pass |
| 150 to 240 | Moderate cut, even visible cross-hatch | General deglazing and deburring, the usual first choice for engine and hydraulic bores |
| 280 to 400 | Light cut, fine scratch | Second pass after a coarse brush, or a single pass where seal life matters |
| 500 to 800 | Very light cut, close to polishing | Final plateau on hydraulic and pneumatic bores, aluminium and softer alloys |
Sizing the Brush to the Bore
Brush diameter relative to bore diameter sets contact pressure, and contact pressure is where most honing problems begin. The filament has to be deflected slightly so it presses against the wall without being crushed. As a working rule, a brush around 10 percent larger than the bore suits bores below roughly 50 mm, while 5 to 10 percent oversize is enough for larger barrels. An undersized brush skims the surface; a heavily oversized one generates heat, mats the filament and breaks tips.
Filament diameter works alongside that. Thin filament in the 0.5 to 1.2 mm range reaches into small bores and follows irregular walls, while 1.5 to 3 mm filament gives more pressure and longer life in large barrels. Stroke length should be long enough that the brush exits the bore at both ends, which spreads wear and avoids a barrel-shaped result. For long bores, a shorter brush with a longer stroke usually beats a long brush with a short stroke.
Because a brush follows existing geometry, measure before and after. A bore gauge reading at three depths and two axes tells you within a minute whether the tool is doing what you expect. Suppliers who serve honing customers control filament diameter and straightness closely, since both affect how evenly the tool loads. Useful specifications include polymer grade, diameter tolerance, grit type and size, abrasive loading and moisture content, and a producer such as this brush filament manufacturer will normally confirm them batch by batch.
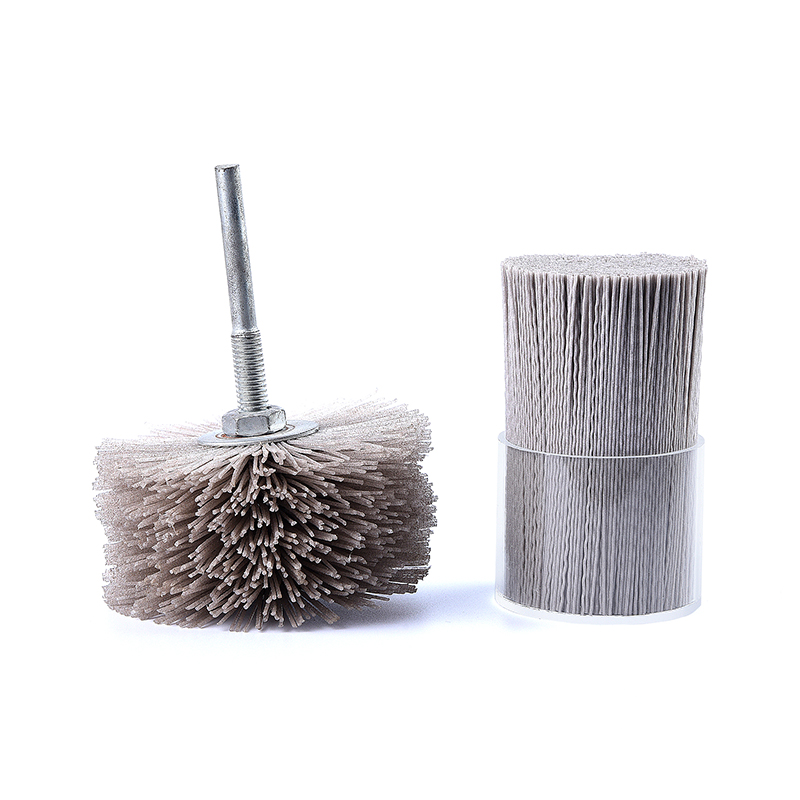 PA612 Nylon Brush Filament for Honing and CleaningPolyamide 612 filament with a 0.05–1.2 mm diameter range, certified grades, and wet-stiffness retention, suited to honing brushes and cleaning applications.View Product →
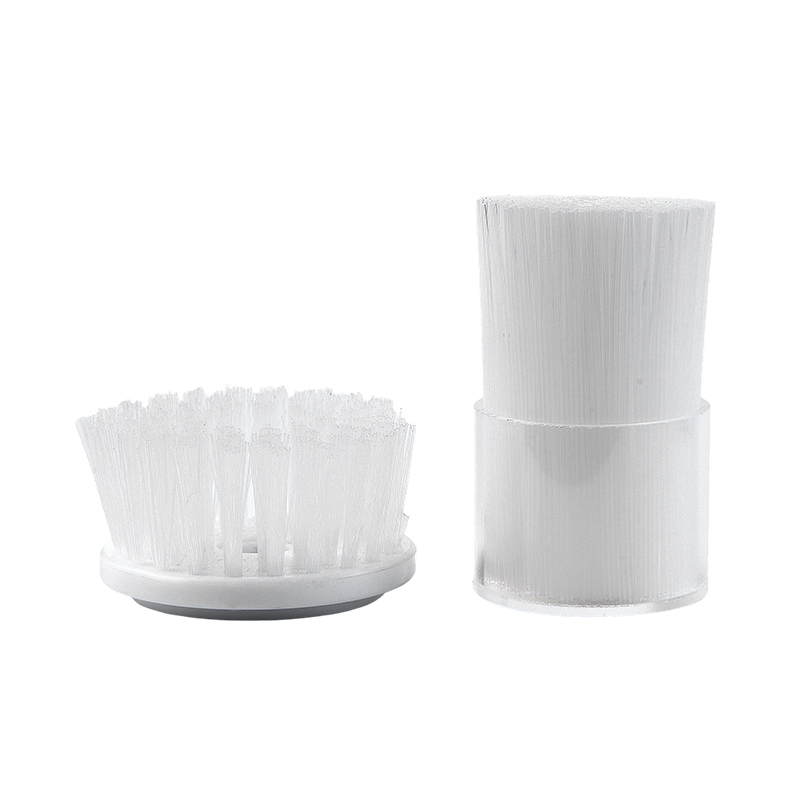 PA66 Nylon Brush Filament for Industrial CleaningHigh-strength, chemical-resistant PA66 filament in 0.1–1.2 mm diameters, suitable for bottle, toilet, industrial cleaning, deburring, and polishing brushes.View Product →
Speed, Stroke and Lubrication
Speed has a narrow useful range. Most shops run a cylinder hone brush between 400 and 900 rpm on a portable drill or lathe, which keeps surface speed within a range the filament can survive without overheating. A stroke rate of roughly 100 to 300 strokes per minute, combined with rotation, produces the cross-hatch angle. Aim for about 30 to 45 degrees, the pattern most sealing and ring-seating applications expect.
Lubrication is not optional. Honing oil or water-soluble coolant suits steel and cast iron, while kerosene or a light oil suits aluminium, where loading is a real risk. Running wet carries away loose grit and swarf and keeps the filament cooler. Dwell per pass is usually 15 to 60 seconds and the tool must keep moving, because holding it in one spot creates a low area. Washing the part afterwards matters too: abrasive residue left in a hydraulic bore will damage a pump long before the finish does.
When the Finish Goes Wrong
Most honing complaints trace back to a handful of causes, and the fix is usually a change in technique rather than a different tool.
| Problem | Likely cause | What to change |
|---|---|---|
| Finish rougher than the grit suggests | Rotation too fast, dry running, uneven brush wear | Lower the rpm, add lubricant, replace the brush |
| Bore tapers after honing | Too much dwell at the ends, brush too short for the stroke | Lengthen the stroke, keep the tool moving, gauge the bore before and after |
| Abrasive embedded in aluminium | Sharp grit and heavy pressure on a soft alloy | Switch to aluminium oxide, reduce pressure, use kerosene, wash the part |
| Filament breaking or matting | Oversized brush, high speed, heat build-up | Reduce brush diameter, cut speed, run wet |
| Finish varies between parts | Diameter drift or grit shedding as the tool wears | Log tool life, agree a diameter tolerance with the filament supplier |
What to Check Before a Production Run
Before committing a batch, run one reject part through the full sequence and inspect the result. Check brush outside diameter against nominal, spin the tool at low speed first to confirm it runs true, and look at the filament tips for even grit distribution and no loose abrasive. Then confirm the bore with a gauge at several depths and keep a simple log of passes and brush hours, so a change in finish can be traced to tool wear instead of guessed at.
For anyone building or buying these tools, the filament specification is worth getting right first. Base polymer, grit type and size, abrasive loading, diameter tolerance and straightness all show up in the finished bore, and a supplier who holds those variables batch after batch removes most of the guesswork from honing.
A cylinder hone brush does one job well: it restores a bore surface that is dimensionally sound but glazed, burred or lightly scratched. With the right grit, the right oversize and enough lubrication, it produces a repeatable cross-hatch in under a minute per bore. Used as a substitute for boring or rigid honing, it will only disguise geometry problems that return as leaks, blow-by or short seal life. Match the tool to the defect, and the brush becomes one of the most cost-effective steps in the whole rebuild.