
 English
 русский
 Türk
Content
- 1 What Honing Actually Does Inside a Cylinder
- 2 Tools and Consumables Worth Laying Out First
- 3 Grit Selection and Cross-Hatch Angle
- 4 Step by Step Through the Honing Process
- 5 Rigid Stones or Flexible Abrasive Brushes
- 6 Cleaning After Honing Is Not Optional
- 7 Mistakes and How They Show Up Later
- 8 Checking the Finished Bore
- 9 Quick Answers to Common Questions
Ten strokes too many with a 120 grit stone can open a bore by a thousandth of an inch and turn a simple rebuild into a trip to the machine shop. Honing a cylinder is a controlled abrasive process, not a scrubbing job, and the outcome depends far more on grit choice, stroke pattern, and clean-up than on how hard you lean on the tool.
The short answer comes first: match the abrasive to the damage, keep the bore flooded with cutting oil, work the tool in a steady in-and-out stroke at roughly 300 to 600 rpm, and stop as soon as the cross-hatch is uniform and complete. Then clean the bore until a white towel stays white. The rest of this guide explains why each of those rules matters and how they behave on a real bench.
What Honing Actually Does Inside a Cylinder
Honing removes a very small amount of metal while rebuilding the surface geometry of the bore. A light deglaze pass typically takes off 0.0002 to 0.0005 inch. Cleaning up minor scoring might remove 0.001 to 0.002 inch. Boring is a different operation: it cuts the bore to a new oversize to correct serious wear. Honing restores finish, shape, and oil retention.
Three results decide whether the job worked:
- Roundness and straightness. Honing can correct small taper and out-of-round, but only if the stroke runs the full length of the bore evenly.
- Cross-hatch pattern. The intersecting scratches hold oil on the wall and help the rings carry a film instead of running dry.
- Plateau finish. A good hone leaves sharp peaks knocked down and shallow valleys open, which is what new rings need to seat without scuffing.
If the bore is out of round by more than about 0.002 inch, or you can catch a fingernail in a scratch, honing will not rescue it. That cylinder needs boring or replacement, and an hour of honing first only removes material the machine shop would rather have.
Tools and Consumables Worth Laying Out First
Most failed hone jobs are tooling problems that show up late. Before the drill is plugged in, confirm you have:
- A honing tool that fits the bore, either rigid stones on a spring-loaded body or a flexible abrasive brush.
- The correct grit range, plus a spare set if the first pass loads up with aluminum.
- Light cutting oil or a dedicated honing oil, at least a quart per cylinder, because the bore must stay wet the whole time.
- A variable-speed drill that holds a steady low rpm without stalling.
- A bore gauge or inside micrometer, a micrometer for the piston, and a ring squaring tool.
- Hot soapy water, a stiff scrub brush, lint-free towels, and clean engine oil for the final wipe.
Skipping the measuring tools is the most common shortcut, and it is also the reason people hone past the service limit without noticing.
Grit Selection and Cross-Hatch Angle
Grit is where judgement matters most. Coarse abrasives cut fast and hide mistakes quickly; fine abrasives polish but will not remove transfer or blend a ridge.
| Grit range | Best used for | What to watch |
|---|---|---|
| 120 to 180 | Removing aluminum transfer and blending light scoring | Cuts fast, check bore size every few strokes |
| 240 to 320 | Standard deglaze before new rings | Most rebuilds finish here |
| 400 to 600 | Final cross-hatch and plateau on plated or hard bores | Needs fresh oil and a light touch |
| 800 and finer | Polishing after a coarse pass | Too smooth can slow ring seating |
Cross-hatch angle is the second control. A 45 degree included angle, give or take about 5 degrees, is the working standard for most four-stroke engines because it balances oil retention with ring support. Two-strokes and some high-performance builds favor a slightly shallower or steeper angle, so follow the ring manufacturer's spec when one is supplied. Judge the angle by eye after the first few strokes, not after the last one.
Step by Step Through the Honing Process
Step 1: Prepare and Measure
Drain and wipe the cylinder, remove all carbon from the top land area, and mask the crankcase so grit cannot fall in. Measure the bore at three heights and two axes, then check ring end gap in the cleanest part of the bore. Write the numbers down; you will compare against them later.
Step 2: Set Up the Tool and Oil Flow
Chuck the hone, set the drill to a low fixed speed, and flood the bore with oil before the tool touches metal. Stones should sit flat against the wall with light spring tension, not forced. Flexible abrasive brushes should fit with their filaments just touching the bore.
Step 3: Hone With a Steady Stroke
Run the tool in and out at a consistent rate, letting it overrun the top and bottom of the bore by about a third of the stone length. Keep the oil flowing and keep the tool moving. Stopping in one spot creates a belly in the middle of the cylinder that no ring will seal against.
Step 4: Stop, Measure, Repeat
After ten to fifteen strokes, wipe the bore, inspect the pattern, and measure again. If the cross-hatch is even and the size is within spec, you are done. If not, clean the stones, re-oil, and repeat in short increments rather than long ones.
Rigid Stones or Flexible Abrasive Brushes
Rigid stones cut aggressively and correct geometry quickly, which makes them the right choice for a tapered or lightly scored bore. The trade-off is that they follow the tool, so a rushed stroke can bell the ends of the cylinder. Flexible abrasive tools work differently: the filaments conform to the bore and self-align, so they deglaze evenly and leave a forgiving plateau on ported cylinders and small two-stroke bores where a rigid stone chatters.
Many shops use both in sequence, coarse stones to correct shape and a flexible abrasive tool to finish and blend. The abrasive filament itself controls the cut, and the selection questions that come up most often are covered in this guide to abrasive filament behavior in finishing work.
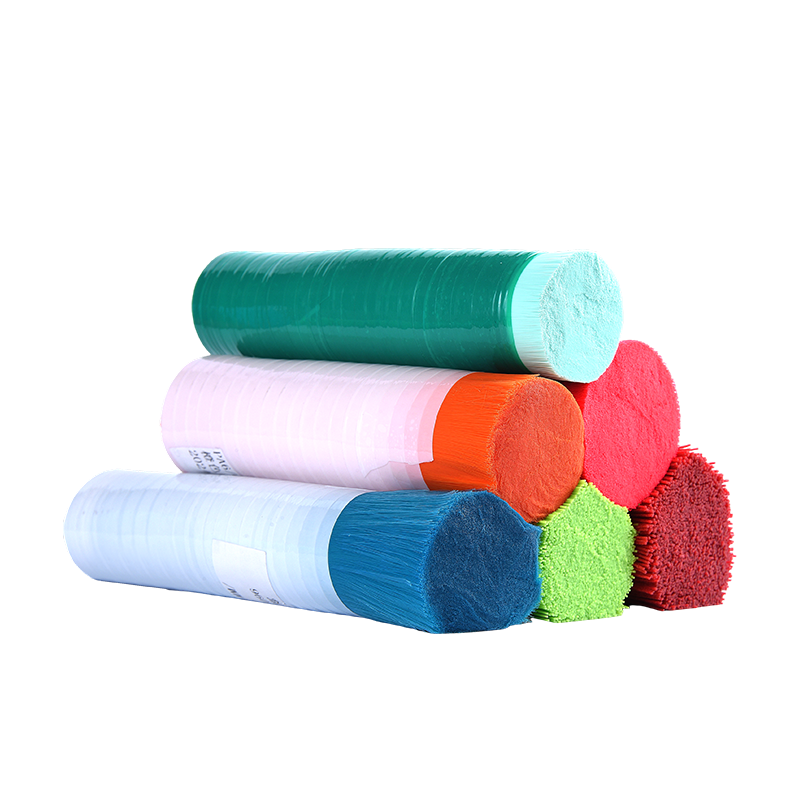
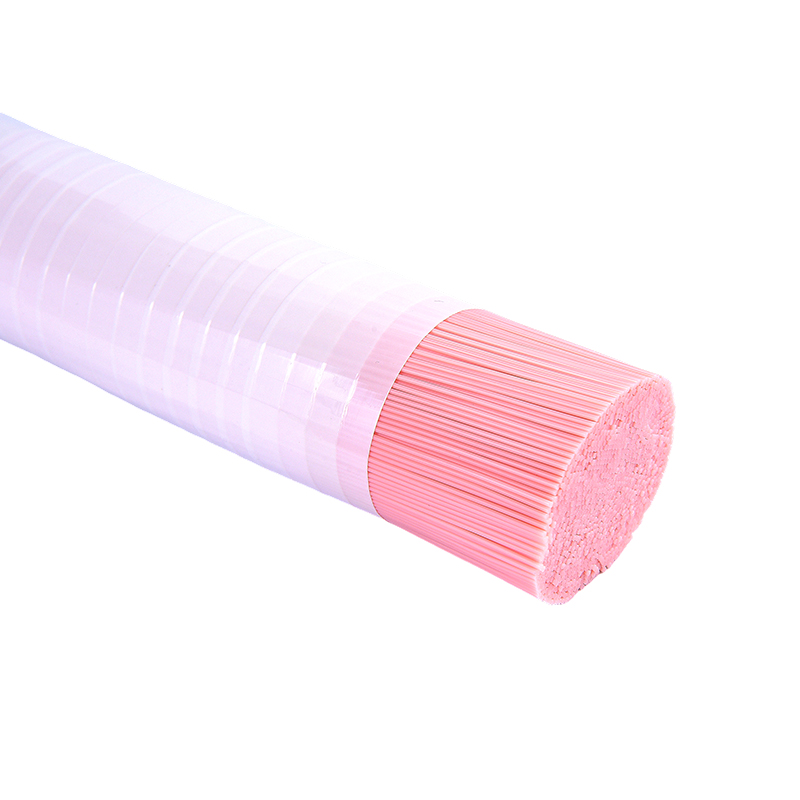 Abrasive Filament Range for Deburring and Surface FinishingCompare nylon-based abrasive filament grades, grit sizes, and abrasive types for flexible finishing, blending, and deburring after coarse stone work.View Product →
One practical note: abrasive tools load with aluminum when the bore is wet with the wrong oil or run too dry. If the stones or filaments glaze over, stop and clean them. A loaded abrasive rubs instead of cutting, and rubbing is what polishes a bore out of tolerance.
Cleaning After Honing Is Not Optional
Abrasive grit left in the bore is the leading cause of a freshly rebuilt engine smoking, scuffing, or wearing out early. Wipe the bore with a dry towel, then scrub it with hot soapy water and a stiff brush until the water runs off in a sheet rather than beading. Rinse, dry, and wipe with a white towel soaked in clean oil. If the towel shows grey, wash again.
The brush you scrub with matters more than people expect. Stiff nylon filament resists hot water, solvents, and repeated flexing far better than cheap bristles, which is why brush makers look at filament grade and stiffness rather than price alone when the brush has to survive a workshop environment. Details on how high strength wear resistant nylon filaments hold up in cleaning duty are worth reading before specifying a scrub brush for this step.
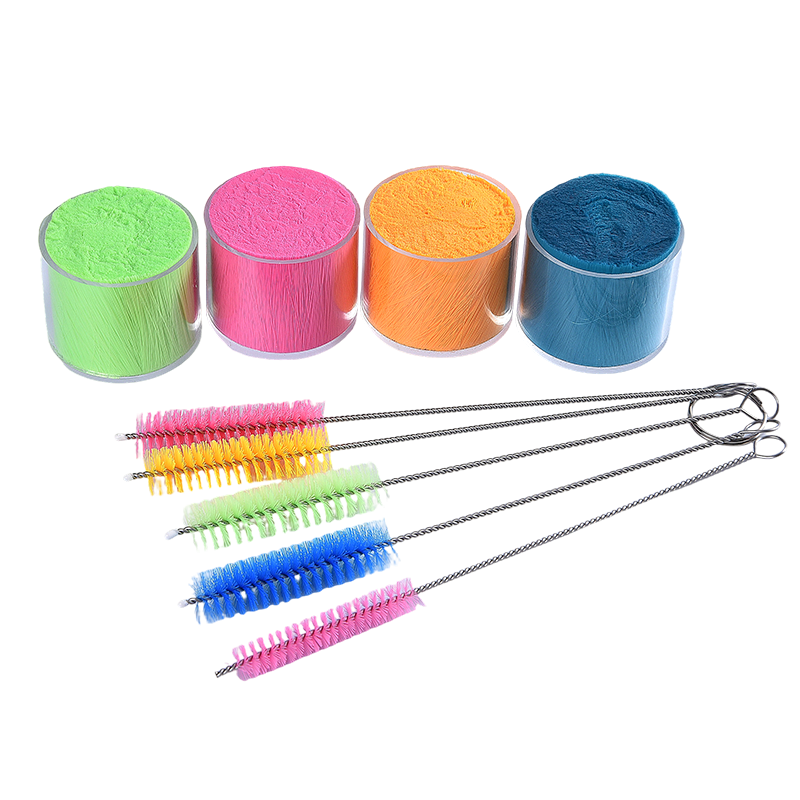
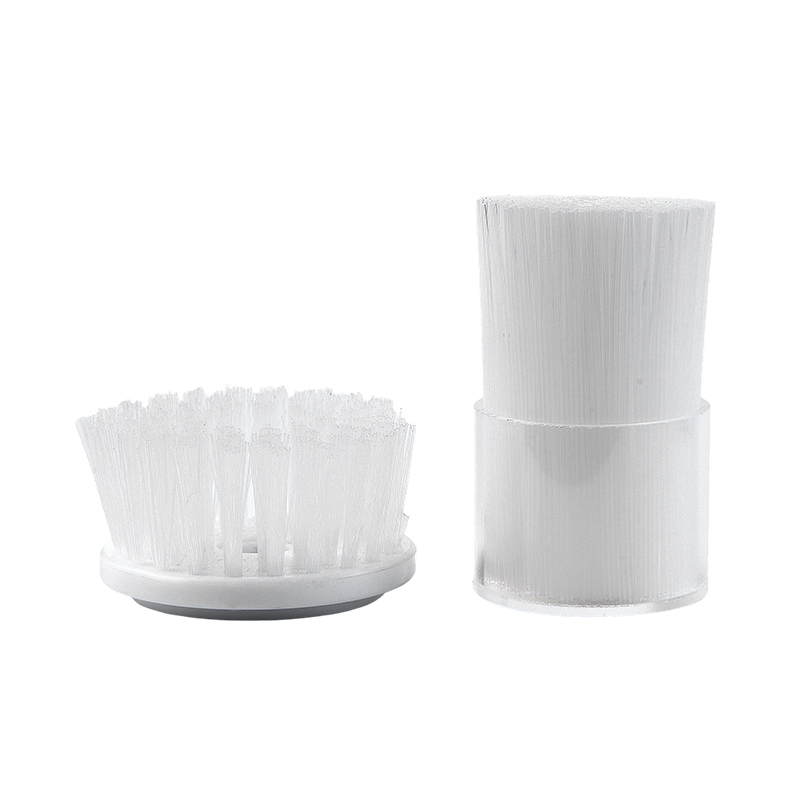 PA66 Brush Filament for Durable Cleaning BrushesHigh-strength, wear-resistant nylon filament in customizable diameters and shapes for scrub, bottle, and industrial cleaning brushes that resist solvents and repeated flexing.View Product →
Oil the bore immediately after the final wipe. A dry, freshly honed cylinder will flash rust in a humid shop within hours.
Mistakes and How They Show Up Later
- Dry honing. The abrasive scratches instead of cutting, and the bore polishes out of round.
- Too much pressure. Stones break down unevenly and the bore goes barrel shaped.
- One-direction strokes. The cross-hatch turns into parallel lines that do not hold oil.
- Over-honing. Piston to wall clearance opens past spec and piston slap follows.
- Skipping the final wash. Grit hides in the ring grooves and the crankcase, not just on the wall.
- Using the wrong oil. Thin solvent evaporates too fast; heavy oil lifts the stones off the surface.
Checking the Finished Bore
Look at the bore under a bright light at a shallow angle. You want a uniform crisscross with no vertical scratches, no shiny polished bands, and no dull grey patches where the abrasive stopped cutting. Measure again at the same three heights and two axes and compare with your starting numbers; a change of more than 0.001 inch on a deglaze pass means you went too far. Finally, fit a ring squarely in the bore and check end gap at the top, middle, and bottom. A gap that varies by more than 0.003 inch tells you taper is still there.
Quick Answers to Common Questions
What grit should I use on a small engine cylinder?
Start at 240 grit for a routine deglaze and drop to 120 to 180 only if there is aluminum transfer to remove. Finish with a light pass in the 400 range if the ring maker calls for a finer plateau.
Should I hone wet or dry?
Wet, always. Oil carries heat and abrasive debris out of the cut and keeps the stones from loading. Dry honing is reserved for a few specialized processes and is not a workshop shortcut.
Does honing change the bore size?
Yes, slightly. A deglaze removes a few ten-thousandths of an inch, and a full cleanup of scoring can remove a thousandth or more. That is why you measure before, during, and after rather than trusting the sound of the tool.
Honing rewards patience and measurement more than force. Match the abrasive to the damage, keep the bore flooded, keep the tool moving, and finish with a wash that leaves a white towel white. Do those four things and the cross-hatch you see at the end is the pattern the rings will actually use.