
 English
 русский
 Türk
TürkContent
- 1 Match the Method to the Part, Not the Hype
- 2 Sanding: The Foundation That Most Jobs Need
- 3 Polishing Compounds and Buffing Wheels
- 4 Heat Gun Smoothing: Fast but Unforgiving
- 5 Solvent and Vapor Smoothing
- 6 Priming, Filler, and Epoxy Coating
- 7 Comparison of Common PLA Polishing Methods
- 8 Common Mistakes and Safety Notes
- 9 Frequently Asked Questions
You pull a freshly printed PLA part off the build plate. The dimensions are right, but the layer lines catch the light, and the surface feels like fine wood grain. You want a cleaner, glossier finish without cracking the part, softening sharp edges, or spending a whole weekend on it.
The most reliable path is usually mechanical: sand in stages, then polish with a compound. Heat, solvent, and coating methods can work, but they demand more control and carry more risk. The right choice depends on geometry, the surface target, and whether the part must stay dimensionally stable.
Match the Method to the Part, Not the Hype
Before you touch sandpaper, decide what polished means for this specific part. A decorative display model may need a mirror gloss. A functional bracket may only need the layer lines knocked down so it slides into an assembly. A prototype may need a paint-ready surface, not a final shine.
Ask three questions first:
- Does the part have deep crevices, small holes, or thin walls that limit sanding access?
- Can the part lose a few tenths of a millimeter without affecting fit?
- Will it be exposed to heat, chemicals, or load after finishing?
Write down the tolerance. PLA sands away quickly, especially on edges and raised text. If a mating surface must stay within 0.1 mm, mask it before you start. A polished show piece and a press-fit functional part follow different rules.
Sanding: The Foundation That Most Jobs Need
Sanding removes the layer ridges that polishing alone cannot hide. Start with 120 or 180 grit if the lines are heavy. Use 220 grit if the print is already fairly smooth. Then work through 400, 600, 800, 1200, and up to 2000 grit for a high gloss.
Wet sanding with water reduces clogging and keeps heat down. PLA has a low softening point, so friction heat can smear the surface instead of cutting it. Use a sanding block on flat areas to avoid rounding edges. Wrap paper around a dowel or use needle files for slots and holes.
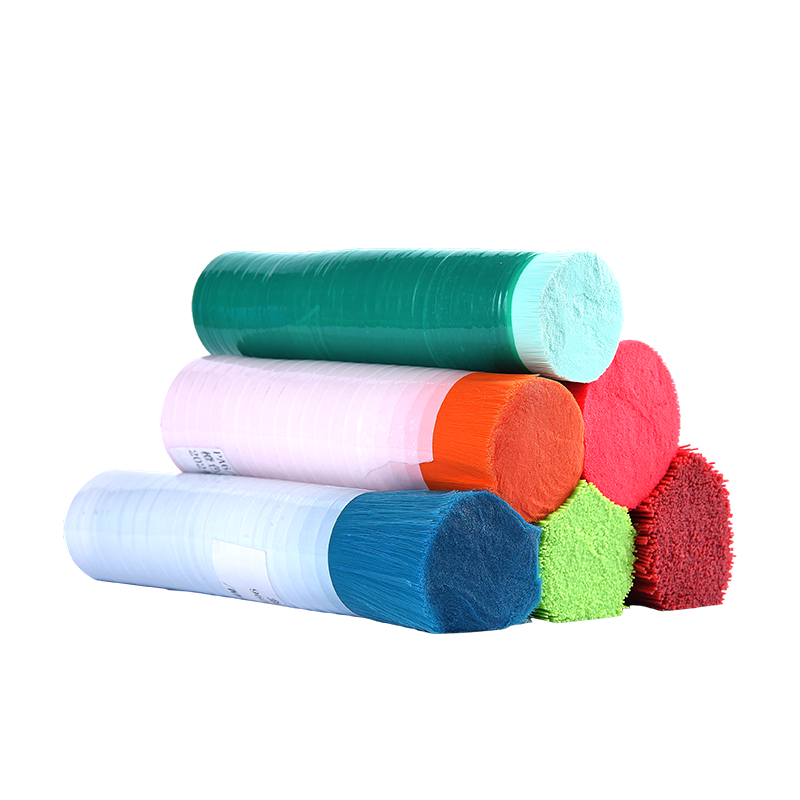
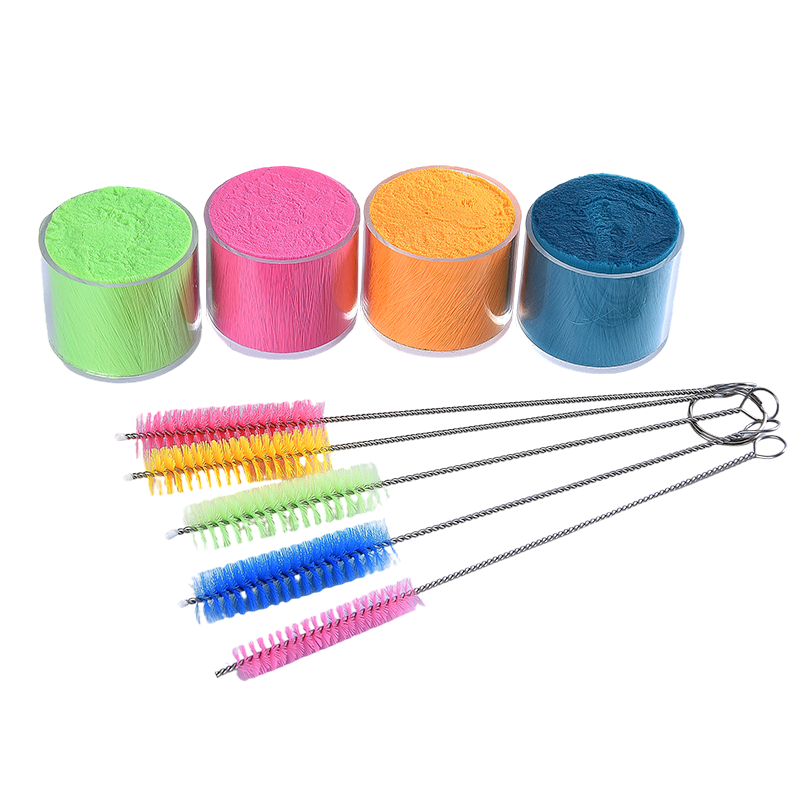
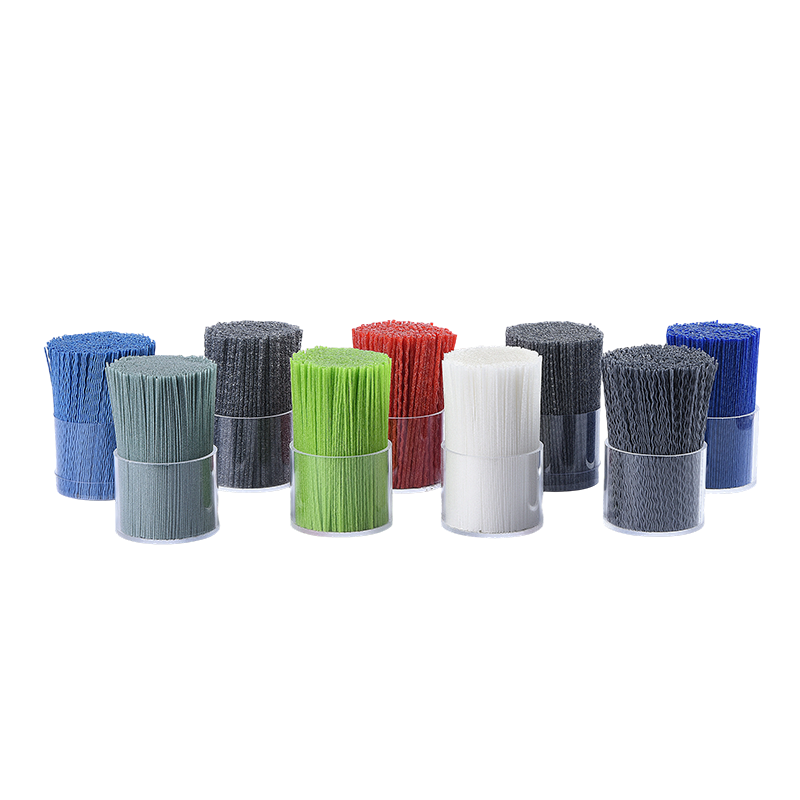
Brushes made with abrasive filament can reach into small features without cutting into the part. The filament acts like flexible abrasive fingers, so you can clean layer lines in slots, around bosses, and along internal corners where paper cannot follow. This is the same principle used in industrial deburring, where abrasive brushes are specified by filament diameter and grit level.
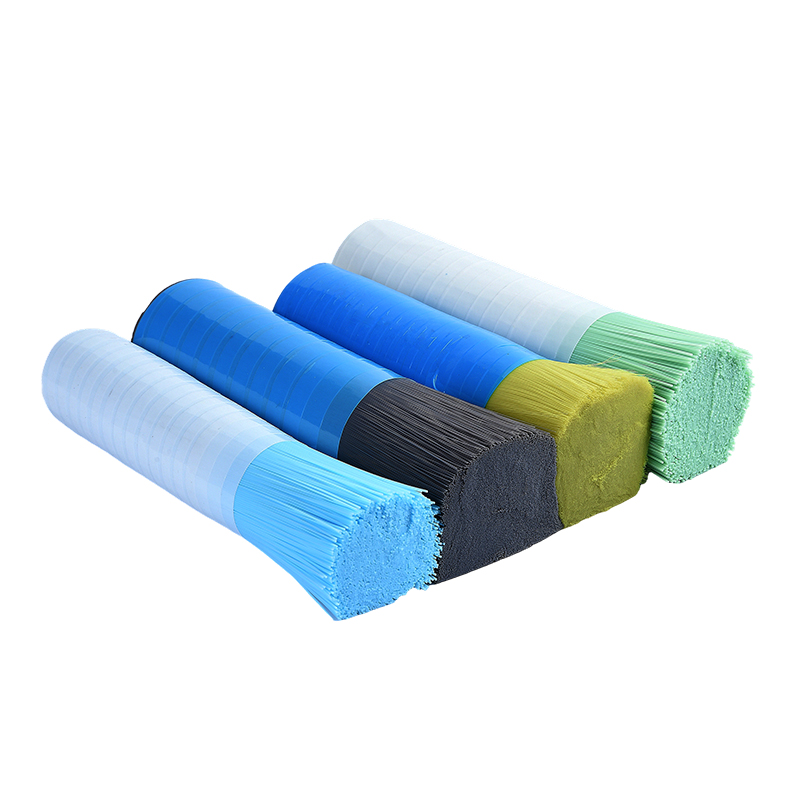 Abrasive Filament Brush Material for Deburring and Surface FinishingComposite nylon filament with embedded abrasives for cleaning slots, internal corners, and deburring; explains how filament diameter and grit affect surface work.View Product →
If you source brush materials, abrasive filament is available in different diameters and abrasive loads. More detail on how to evaluate it for surface work is covered in this guide to abrasive filament questions.
Do not skip grits. Jumping from 220 to 1200 leaves deep scratches that show up after polishing. Clean the part with water and a soft brush between grits so loose particles do not scratch the next pass.
Polishing Compounds and Buffing Wheels
After 1200 grit, switch to a polishing compound. Automotive plastic polish, aluminum oxide slurry, or cerium oxide for clear parts can all work. Use a soft cotton wheel, felt bob, or foam pad at low speed. High speed melts PLA and creates smears rather than shine.
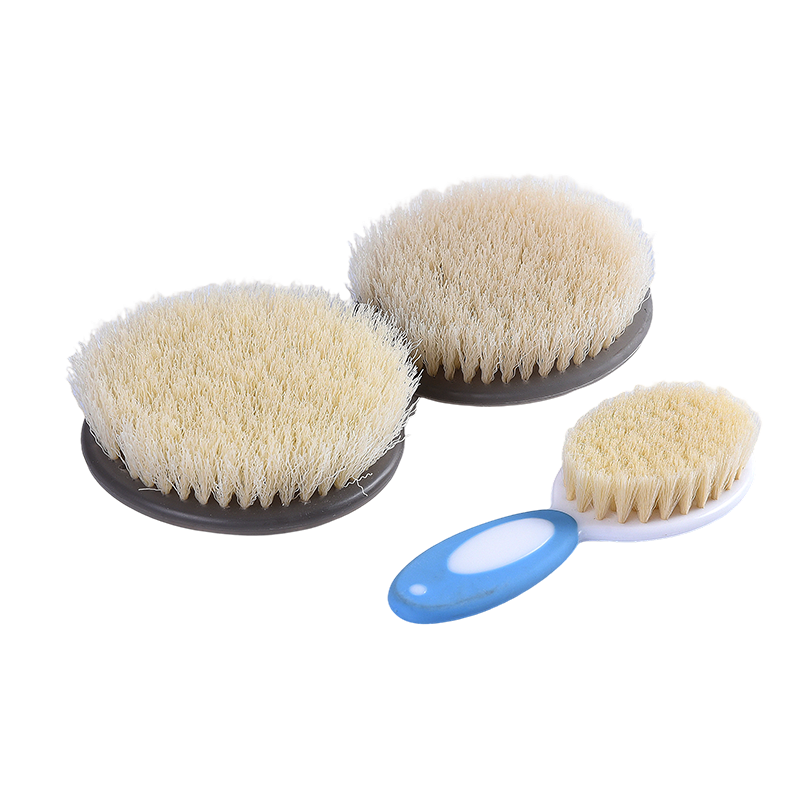
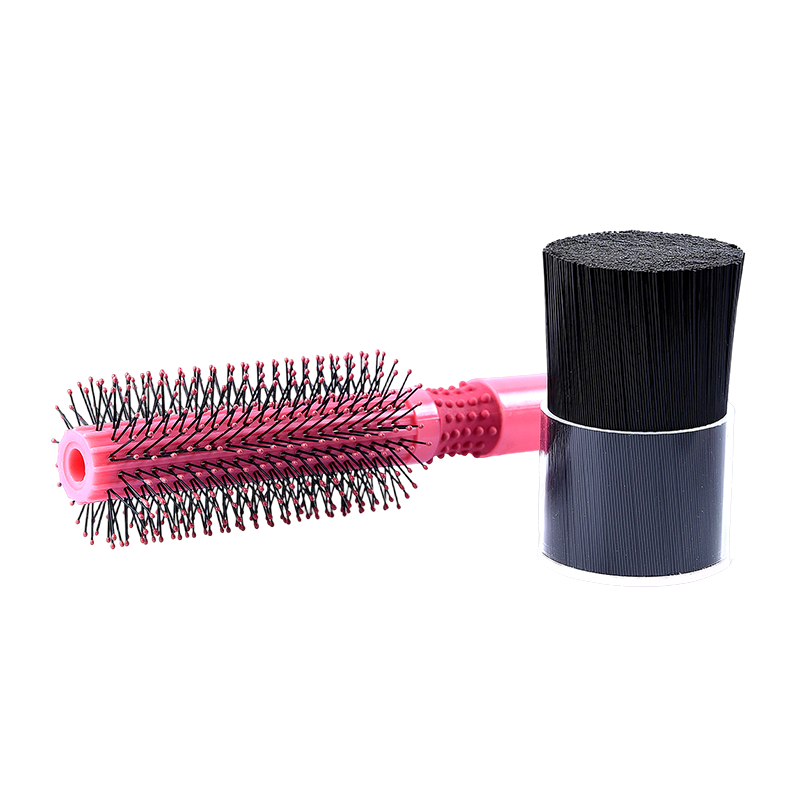
Brush tools can be gentler and more controllable. A nylon brush wheel loaded with compound distributes it evenly across the surface. The brush filaments must be soft enough not to scratch, but stiff enough to carry compound into shallow valleys. A brush filament product range typically includes different polymers and diameters for this kind of work.
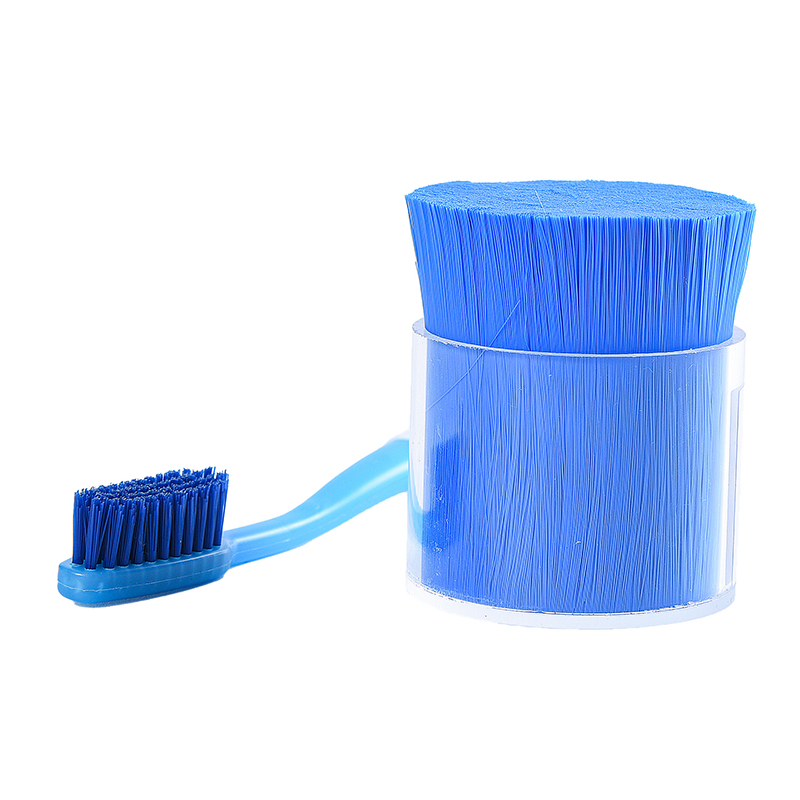 PA6 Nylon Brush Filament for Cleaning and Polishing BrushesPA6 nylon brush filament for wheels that distribute polishing compound evenly; suitable for gentle cleaning and surface preparation tasks.View Product →
Keep the tool moving. If you hold it in one spot, you will see a dull, heat-affected patch. Use light pressure and let the compound do the cutting. Wipe the residue away with a damp cloth and inspect the surface under a bright light. Repeat with finer compound if needed.
For a satin finish, stop after 800 or 1000 grit and skip the final buff. For a mirror finish, polish in two stages: first a medium compound, then a fine finishing compound. Always test on a scrap print before you work on a finished part.
Heat Gun Smoothing: Fast but Unforgiving
A heat gun can reflow the surface of PLA and reduce visible layer lines in seconds. The nozzle temperature is often set between 200 and 250 degrees Celsius, but the air must keep moving. Hold the gun too close or too long, and the part will warp, sag, or lose sharp details.
Heat smoothing works best on simple, thick-walled shapes with rounded corners. It is risky for thin walls, tall columns, and parts with tight tolerances. Practice on a scrap print and watch how the surface changes. Stop as soon as the gloss appears. You can always add more heat, but you cannot undo a melted edge.
Solvent and Vapor Smoothing
Ethyl acetate is a common solvent for PLA smoothing. It can produce a glossy, sealed surface by partially dissolving the outer layer. Vapor smoothing uses a heated chamber to create solvent vapor that condenses on the part. Immersion smoothing dips the part directly into liquid solvent.
Both methods require serious safety controls. Ethyl acetate is flammable, and its vapors can irritate the eyes, skin, and respiratory system. Work outdoors or in a fume hood, wear chemical-resistant gloves and eye protection, and keep ignition sources away. Do not use a kitchen oven or an open flame.
Solvent smoothing can soften fine details, round sharp edges, and leave internal cavities wet with solvent. It is a poor choice for parts under load, because the surface layer changes but the internal structure does not. If you need a smooth, functional part, mechanical sanding and polishing are usually safer.
Priming, Filler, and Epoxy Coating
High-build primer fills layer lines and sands easily. It is a good option when you plan to paint the part anyway. Apply thin coats, let each coat flash off, and sand between coats with 400 or 600 grit. The primer adds thickness, so mask any mating surfaces.
Epoxy resin creates a hard, glossy coating that can hide layer lines and add durability. It also adds weight and can round over fine features. Wood filler or automotive filler can bridge larger gaps, but these materials may shrink or crack if the part flexes. For display models, epoxy can look excellent. For precision assemblies, it can cause fit problems.
Comparison of Common PLA Polishing Methods
| Method | Best for | Surface result | Main risk |
|---|---|---|---|
| Sanding and polishing | Most parts, especially functional ones | Satin to mirror gloss | Edge rounding and material removal |
| Abrasive brush tools | Slots, holes, and internal corners | Cleaned and blended surfaces | Over-brushing thin features |
| Heat gun smoothing | Simple, thick-walled shapes | Glossy, reflowed surface | Warping and loss of detail |
| Solvent or vapor smoothing | Complex surfaces with no tight tolerances | Very glossy, sealed skin | Fire, fumes, and softened details |
| Primer, filler, or epoxy | Paint-ready or display parts | Filled and coated surface | Added thickness and weight |
Common Mistakes and Safety Notes
- Using too much speed on a rotary tool. PLA melts before it polishes.
- Skipping grits. Coarse scratches remain visible after the final buff.
- Ignoring dust. Sanding PLA creates fine particles that irritate the lungs. Wear a mask and work in a ventilated area.
- Solvent smoothing indoors. Flammable vapors can accumulate and ignite.
- Polishing mating surfaces. Mask them, or the part may no longer fit.
- Judging the surface under dim light. Use a bright, angled light to reveal scratches.
Frequently Asked Questions
Can I polish PLA without sanding?
You can apply a polishing compound directly to a smooth print, but deep layer lines will remain. Sanding removes the ridges; polishing only shines the surface. For a true gloss, start with sanding.
What grit should I start with?
Start with 120 or 180 grit for heavy layer lines, or 220 grit for a fairly smooth print. Then move through 400, 600, 800, 1200, and 2000 grit before polishing.
Does a heat gun replace sanding?
No. A heat gun can reflow the surface, but it can also warp the part and soften details. Use it only on simple shapes, and always test on scrap first.
Is solvent smoothing safe at home?
It is difficult to do safely at home. Ethyl acetate is flammable and its vapors are hazardous. If you use it, work outdoors or in a fume hood with proper personal protective equipment.
Start with mechanical sanding and polishing for the most predictable result. Use abrasive brush tools for the areas paper cannot reach, and keep the speed low to avoid heat damage. If you need a glossier or more durable surface, test heat, solvent, or coating methods on a scrap part before you commit. The best finish is the one that meets your fit, appearance, and safety requirements without changing the part in ways you did not plan for.